Aperture, Magnification & First Light
How to Use a Telescope: Your First Night, Step by Step
Almost every disappointing first evening fails at the same three points, and all three are fixed before it gets dark. Do the daylight steps and the rest is easy.
By Scooter M. · Published · How we pick
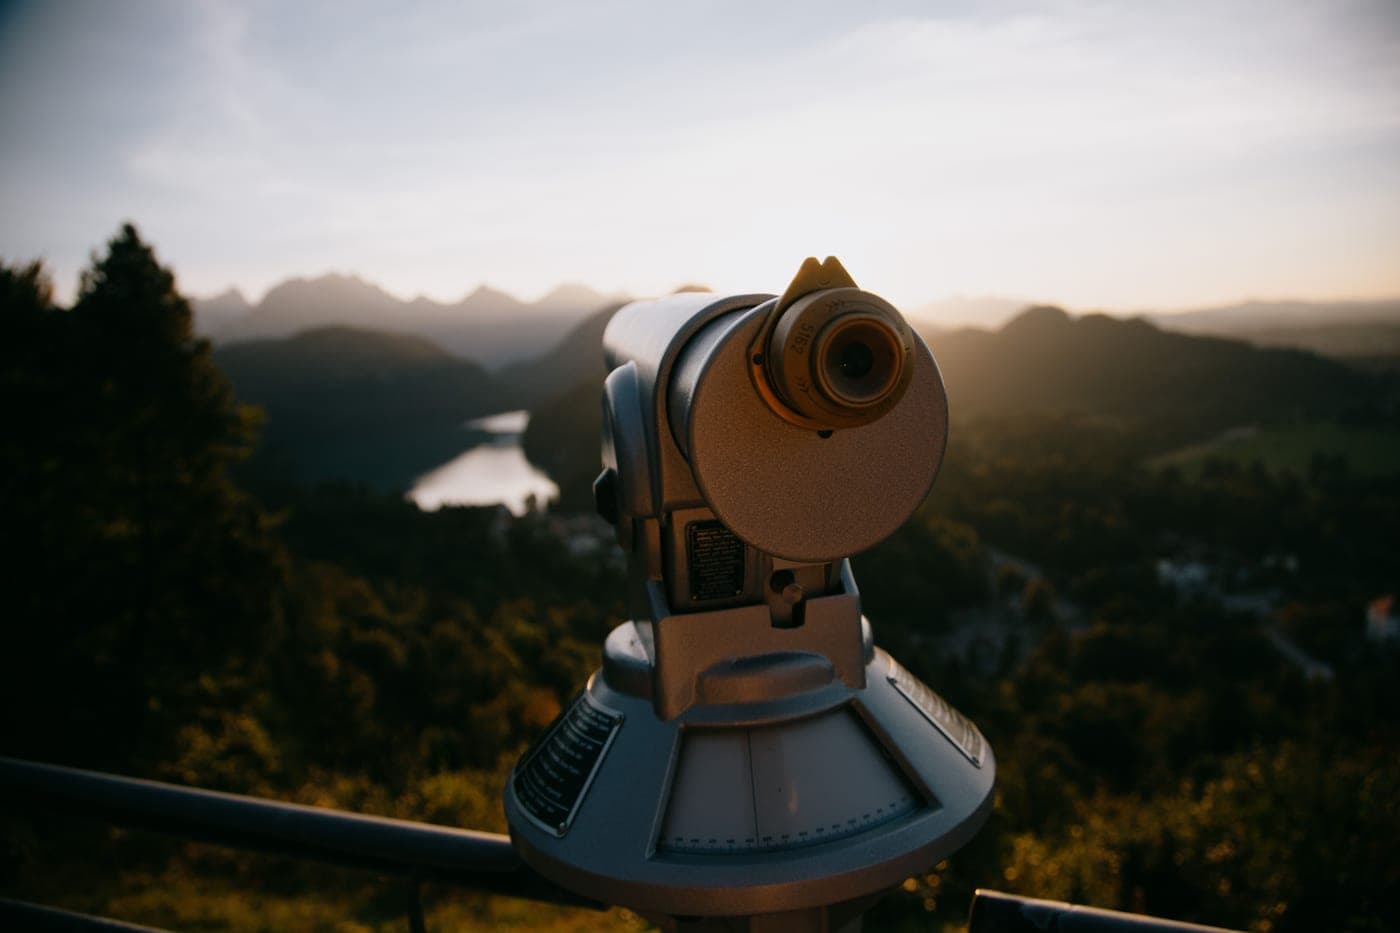
The first evening with a telescope goes wrong at three points, and all three of them happen before it gets dark. Do the daylight steps and the rest of the evening is straightforward.
Before dark
- Assemble it indoors, in daylight, with the instructions. Working out which end the eyepiece goes in is a job for a warm room, not a cold garden.
- Align the finderscope. This is the step that decides the evening. Point the main telescope at a distant fixed object, a chimney or a pylon a few hundred meters away, and center it in the eyepiece. Now look through the finder. It will probably be pointing somewhere else entirely. Adjust the finder's screws until it agrees with the main telescope. This takes five minutes and it is the single most valuable thing on this page. The full daylight procedure, including the Sun warning that has no exceptions.
- Put the telescope outside at least half an hour early. A mirror warmer than the air creates turbulence inside the tube. Cool-down is free if you start it before you need it.
- Choose the target in advance. A crescent Moon, three to six days after new Moon, in the early evening. Bright, easy, and genuinely astonishing.
Once it is dark
- Fit the longest eyepiece you own. A 25mm or 32mm gives the widest field, which is the finding field. High power comes later, if at all.
- Find the target in the finder, not the eyepiece. The finder shows several degrees of sky; the eyepiece shows a fraction of one. Trying to find something at high magnification is like reading a map through a drinking straw.
- Focus slowly, and go past the sharp point in both directions. Correct focus is a narrow position and it is easy to overshoot. Turn slowly, notice where the image is sharpest, and come back to it.
- Then swap eyepieces if you want more magnification, and refocus. Every eyepiece change needs a refocus.
- Look for several minutes. Detail appears in brief moments of atmospheric steadiness. A ten-second glance shows a fraction of what two minutes does.
What to look at, in order
| Target | When | Eyepiece | What to look for |
|---|---|---|---|
| Crescent Moon | Early evening, days 3 to 6 | 25mm, 26x | Craters along the terminator |
| Jupiter | When it is up and high | 10mm, 65x | Four moons in a line, two cloud belts |
| Saturn | When it is up and high | 10mm, 65x | The rings, separated from the globe |
| Venus | Just after sunset | 25mm, 26x | A crescent phase, like a tiny Moon |
| The Pleiades | Autumn and winter evenings | 25mm, 26x | A bright open cluster, best at low power |
The four things that go wrong, and the fixes
- Nothing is visible at all. The dust cap is on, the finder is misaligned, or you are pointing at empty sky. The full checklist.
- Everything is a blur. Focus, almost always. Turn slowly through the sharp point in both directions. More causes.
- The image is upside down. It is meant to be. Why.
- The object drifts out of view within seconds. That is the Earth turning, and it is normal. Nudge it back, and expect to do it more often at higher magnification.
How this is funded: the buy buttons below are Amazon Associates links, and a qualifying purchase earns us a commission at no extra cost to you. It cannot move the ranking, because the order here is set by aperture per dollar, and no commission rate changes how much light a mirror collects. Full disclosure.
| # | Telescope | Best for | Aperture | Price |
|---|---|---|---|---|
| 1 | 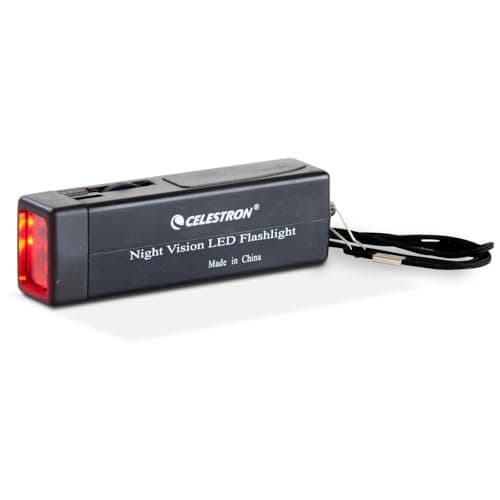 Celestron Night Vision Red LED FlashlightTop pickA variable-brightness red flashlight, which is the accessory that stops you undoing twenty minutes of dark adaptation every time you check a star chart. | Keeping your dark adaptation | Not applicable0x useful | |
| 2 | 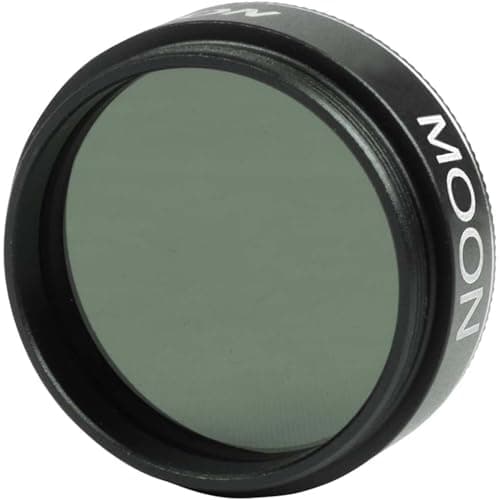 Celestron Moon Filter (1.25")A neutral-density filter that screws into an eyepiece and makes the full Moon comfortable to look at. | The cheapest real upgrade | 1.25" thread64x useful | |
| 3 | 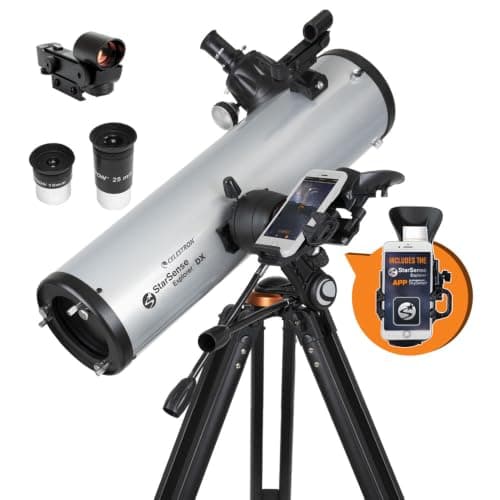 Celestron StarSense Explorer DX 130AZ130mm of parabolic aperture on a mount that stays still, plus the one piece of software that genuinely solves the find-it problem. | Most first buyers | 130mm (5.11 in)260x useful |
Top pick · Keeping your dark adaptation
Celestron Night Vision Red LED Flashlight
A variable-brightness red flashlight, which is the accessory that stops you undoing twenty minutes of dark adaptation every time you check a star chart.
What the aperture allows
- Maximum useful magnification
- 0x
- 2 × 0mm of aperture
- Resolving limit (Dawes)
- Infinity arcseconds
- 116 ÷ 0mm
- Cassini division (0.7″)
- Out of reach
- this aperture cannot resolve it
Dark adaptation takes twenty to thirty minutes and one glance at a phone screen destroys it. That is the whole reason this exists.
Red light at low intensity leaves the rod cells in your retina largely unbleached, so you keep the sensitivity you spent the first half hour building. A white phone torch does not.
Variable brightness matters more than the color. Most cheap red lights are far too bright, which defeats the point almost as thoroughly as white light would.
What it does well
- Keeps the dark adaptation that everything faint depends on
- Variable brightness, which most cheap red lights lack
- Cheap enough to buy alongside the telescope without thinking about it
What it costs you
- A phone in red-screen night mode does most of this for free
- One more thing to keep batteries in
Skip this one if: Skip it if you only ever observe the Moon and the bright planets. Dark adaptation barely matters for either.
| Optical design | Red LED flashlight with variable brightness, for astronomy and campingSource: Celestron Night Vision Red LED Flashlight — the brand's own listing on Amazon.com (retrieved September 1, 2026) |
|---|---|
| Aperture | Not applicableA flashlight has no aperture. This row exists because the spec model requires one.Source: Celestron Night Vision Red LED Flashlight — the brand's own listing on Amazon.com (retrieved September 1, 2026) |
| Why red | Preserves night visionCelestron's own stated purpose for the product.Source: Celestron Night Vision Red LED Flashlight — the brand's own listing on Amazon.com (retrieved September 1, 2026) |
$20.95 · 19% off
#ad · how this is funded · price as of October 18, 2026
Pick 2 · The cheapest real upgrade
Celestron Moon Filter (1.25")
A neutral-density filter that screws into an eyepiece and makes the full Moon comfortable to look at.
What the aperture allows
- Maximum useful magnification
- 64x
- 2 × 31.75mm of aperture
- Resolving limit (Dawes)
- 3.65 arcseconds
- 116 ÷ 31.75mm
- Cassini division (0.7″)
- Out of reach
- this aperture cannot resolve it
The full Moon through a 130mm telescope is genuinely too bright to look at comfortably, and the discomfort costs you detail: a dazzled eye resolves less.
The filter is neutral density, meaning it cuts the light without shifting the color. Contrast goes up, the glare goes away, and the terminator, the line between lunar day and night where the shadows are longest, becomes the best thing in the sky.
It is the single cheapest item that changes an observing session, and it is the one accessory almost every beginner buys second rather than first.
What it does well
- Turns the full Moon from uncomfortable into detailed
- Threads into any standard 1.25-inch eyepiece
- Costs less than almost anything else that improves a view
What it costs you
- Only useful on the Moon and on Venus
- Redundant if you buy an accessory kit, which usually includes one
Skip this one if: Skip it if you are already buying an eyepiece and filter kit. There is one in the case.
| Optical design | Neutral-density filter that threads into a 1.25-inch eyepiece barrelSource: Celestron Moon Filter — the brand's own listing on Amazon.com (retrieved September 1, 2026) |
|---|---|
| Aperture | 1.25" threadThe fitting size. It threads into the eyepiece, not into the telescope.Source: Celestron Moon Filter — the brand's own listing on Amazon.com (retrieved September 1, 2026) |
| Effect | Reduces lunar glare, improves contrast and reveals surface detailCelestron's own description of what the filter does.Source: Celestron Moon Filter — the brand's own listing on Amazon.com (retrieved September 1, 2026) |
$12.95 · 12% off
#ad · how this is funded · price as of October 18, 2026
Pick 3 · Most first buyers
Celestron StarSense Explorer DX 130AZ
130mm of parabolic aperture on a mount that stays still, plus the one piece of software that genuinely solves the find-it problem.
What the aperture allows
- Maximum useful magnification
- 260x
- 2 × 130mm of aperture
- Resolving limit (Dawes)
- 0.89 arcseconds
- 116 ÷ 130mm
- Cassini division (0.7″)
- Out of reach
- this aperture cannot resolve it
Celestron publishes 307x as this telescope’s highest useful magnification. Our figure is 260x, from two times the aperture in millimeters. The gap of 47x comes from the slightly more generous per-inch constant makers use. Neither number describes a typical night: the atmosphere usually settles the question well below both.
Worked example: a 25mm eyepiece in this telescope gives 650mm ÷ 25mm = 26x.
130mm is the aperture where the sky stops being a list of bright dots. Two times that aperture is 260x of useful magnification, which is more than the atmosphere will usually give you on any given night, so nothing in this telescope's optical budget is wasted on a number you cannot use.
Celestron's own published ceiling for it is 307x, which sits above the 2x-aperture rule of thumb. The gap is worth knowing about: manufacturers compute that figure per inch of aperture with a slightly more generous constant. Neither number describes a night you will actually have. Plan around 130x to 180x and treat anything higher as a rare-night bonus.
At f/5 the focal length is short, so the supplied 25mm eyepiece gives a wide, forgiving 26x that makes finding things possible in the first place. That is not a compromise; it is the eyepiece you will use most.
The StarSense part is the honest reason this sits at the top. It uses your phone's camera to plate-solve the actual sky and then walks you to a target with an on-screen arrow. It is not a motor and it does not track. It solves the problem that really kills first telescopes, which is not being able to find anything.
What it does well
- 130mm parabolic mirror rather than the cheaper spherical mirror used at this price by several competitors
- The phone-based finder works and needs no alignment stars, no power and no hand controller
- Full-height tripod, so an adult uses it standing up rather than kneeling on wet grass
- Manual mount means nothing to charge, nothing to fail and nothing to re-align next time
What it costs you
- The bundled 10mm eyepiece is the weakest part of the package
- A Newtonian needs collimation checks; not hard, but it is a task a refractor does not have
- No tracking, so at high magnification you are nudging the tube every 30 seconds
Skip this one if: Skip it if the person receiving it is under about ten and will be using it alone. The tripod is full height and the finding workflow assumes a phone.
#ad · how this is funded · price as of October 18, 2026
Two habits that make every later session better
Protect your dark adaptation. Twenty to thirty minutes to build, one glance at a phone screen to destroy. A dim red light preserves it; a white one does not, and neither does a phone at full brightness.
Sit down. A low stool at a Dobsonian, or an adjustable observing chair at a tripod, transforms an hour at the eyepiece. Standing bent over an eyepiece is tiring, and a tired observer sees less. It is the accessory nobody mentions and everybody eventually buys.
Questions people actually ask
How do you use a telescope for the first time?
Assemble it indoors in daylight, align the finderscope against a distant object before dark, put the telescope outside half an hour early to cool, then find your target with the longest eyepiece you own before swapping to a shorter one.
Why can't I find anything with my telescope?
Almost always a misaligned finderscope. The main telescope sees a fraction of the sky the finder does, so if the two disagree by even half a degree, an object centered in the finder is not in the eyepiece view at all. Align it in daylight against a distant chimney.
What should I look at first with a new telescope?
A crescent Moon, three to six days after new Moon, in the early evening. It is bright, easy to find, needs no dark adaptation, and the shadows along the terminator make the craters three-dimensional.
How long does a telescope take to cool down?
A 130mm mirror takes 20 to 30 minutes and a 200mm mirror 30 to 45. Refractors are much less affected. Put the telescope outside when you start getting ready and the wait costs you nothing.
Why does the object move out of view so fast?
The Earth is turning, and at high magnification a small angular movement crosses the whole field quickly. At 200x an object leaves the field in well under a minute. Nudge it back, or use a tracking mount.
Can I use a telescope during the day?
Yes, for terrestrial views, and daylight is exactly when you should align the finderscope. Never point any telescope at or near the Sun without a purpose-made solar filter fitted over the front; permanent eye damage happens instantly.
Read next

Telescope Troubleshooting: It Is Probably Not Broken
The four problems that make a new telescope seem broken, and why none of them usually is.
Best accessory upgrade
Telescope Eyepieces: Which Ones You Actually Need
Which eyepiece focal lengths suit your telescope, what exit pupil means, and the cheapest real upgrade available.
Top pick: Celestron Eyepiece, Barlow and Filter Kit (1.25")
$239.95 · 8% off
#ad · how this is funded · price as of October 18, 2026
Will They Actually Use It?
Why telescopes get abandoned, why it is almost always the first evening rather than the instrument, and what fixes it.
Top pick: Celestron StarSense Explorer DX 130AZ
#ad · how this is funded · price as of October 18, 2026
Found something wrong here? Tell us and we will correct it and date the correction, per our editorial policy.